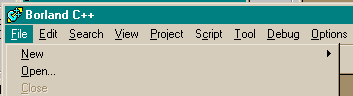
Select File from the main menu. A drop down menu will appear.
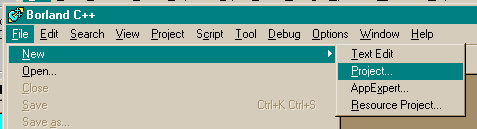
Select New from the drop down menu, and another menu will pop up.
Select Project from the pop up menu. A Target Expert window will appear.
Fill in the New Target window:
Type a new Project Path and Name in the first edit box.
The Target Name will appear automatically.
Leave Target Type as "Application (.exe.)"
Select Platform as "DOS (Standard)."
Leave Target Model as "Large."
Check the BGI box.
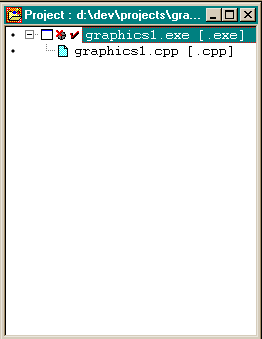
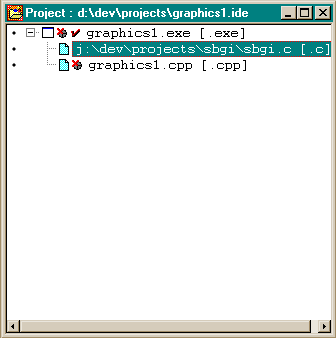
A project window will appear.
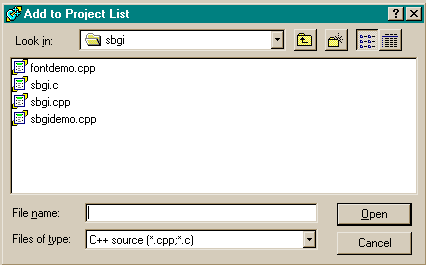
To add new files to the project, right click the box on the top line of the project window.
Click Add node in the pop up menu. A file window will pop up.
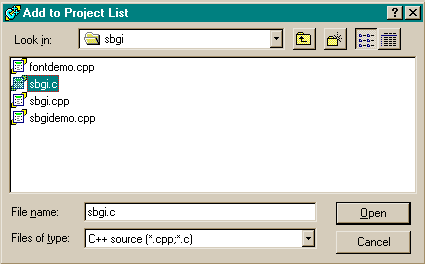
For SBGI, select sbgi.c and click "Open."
The new file will be added to the project.
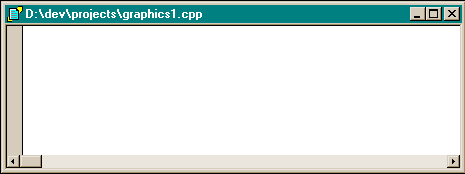
Double click on the main file (graphics.cpp in this example) to bring up an edit window.
Enter your main program in this window.
Note:
The preceding images were taken from Borland C++ Version 5.02 running under Windows
NT version 4. Images may differ slightly under other operating systems.